Selected materials:
(Sphere Exterior)
Option 1 : White Marble (Selected as Final)

Option 2: botticino grey marble
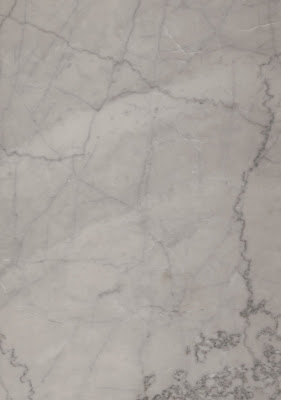
Option 3: MW Beige, marble
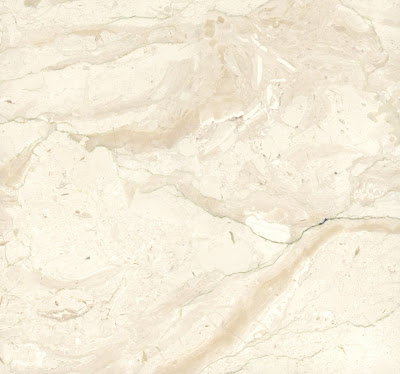
(Rafters)
Dark Wood

(Base of Cenotaph)
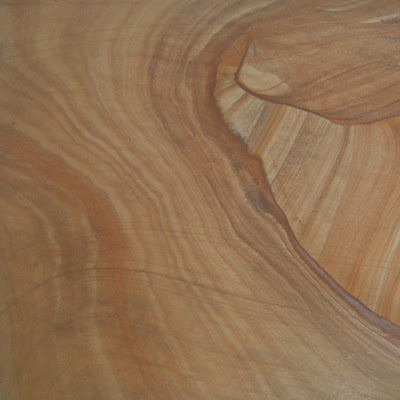
Option 1: Sandstone shape (Selected as Final)
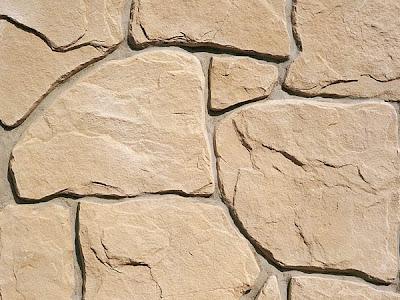
Option 2: Sandstone Tiles
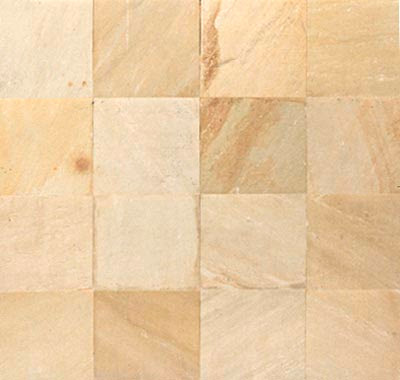
Option 3: sandstone scenery
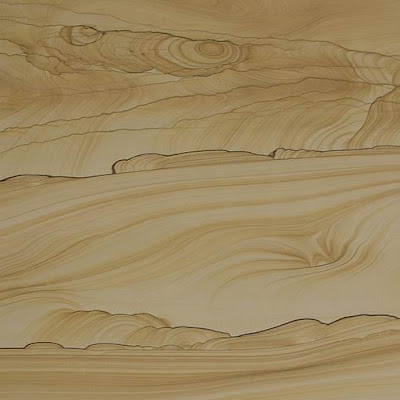
Option 4: Sandstone shape
Steps for importing custom texture to crysis:
1. Create a folder named "textures" inside your project folder, inside of crysis
eg. C:\Program Files\Electronic Arts\Crytek\Crysis\Game\Levels\Cenotaph\Textures
- Save the new texture as a material file (*.mtl)
- The material editor in Crysis only support .dds format picture, so we use 'paint.net' a image converter to convert our selected images from .jpg to .dds (figure 1)
- Also the size of the images must be 128X128 pixels in order to import to crysis successfully. And place the .dds image to the folder just create in step 1 (figure 2)

(figure 1)

(Figure 2)
3. In Material Editor, there are some very useful settings which can create the most suitable material for our design. Including:
Diffuse - simply mean the appearance of the material. We apply the custom images on by clicking the right button next to the bar, and select the .dds image.
Under the 'Diffuse', there is a category called 'Rotator", which can make the texture rotate constantly. We used this function on the material of the light feature.
Bump - texture/ surface of the material. it also need to apply a image to in order to create a bumpy surface. lighter area of the image will be raised and darker area of the image will be appear as deeper. value range from 0-100
Here are some snap shot of the process of testing and creating the material in Crysis Material editor.


ps I found a quite useful sandbox editor manual on the web which help us a lot during the process of editing the material.
http://doc.crymod.com/SandboxManual/frames.html?frmname=topic&frmfile=index.html
No comments:
Post a Comment